Mirror scrying is the practice of gazing into a mirror or other reflective surface with the intention of receiving significant messages or images from…somewhere. Different scrying traditions have different takes on what, exactly, is going on. Whichever way you slice it, though, mirror scrying is a time-honored tradition. And black mirrors are more or less the go-to style of mirror in use today.
Black mirror scrying has actually been around for a long time. Elizabethan occultist and court magician John Dee famously used a black mirror made of obsidian for some of his experiments. Now, you can go online or visit your local metaphysical store and purchase an obsidian mirror of your own. Or…you can DIY a black mirror in a few hours.
In this post, we’ll tell you how to make a black mirror, and give you some really basic instructions on how you might start using it to see…things.
What you will need
It doesn’t take too many materials to make a black mirror, which makes it a great project for people just getting started with crafting their own magical tools. Hit up your crafting supplies, or your local Big Box store, and procure the following…
- An 8×10 picture frame with glass.
- A can of black, “any surface” spray paint–glossy or matte finish doesn’t matter.
- Some one-inch wide masking or painter’s tape.
- Old newspaper or something else to avoid making a mess.
- A nice day outside with very little wind.
That’s really it. If something confuses you about this list, don’t worry. All will be explained.
Getting ready to make your black mirror
Okay, right away, let me say that you’ll want to do this outside. Spray paint fumes aren’t the healthiest thing you could inhale, and spray paint is incredibly adept at getting absolutely everywhere. Take your stuff outside to your driveway or some other convenient place.
You also want to do this on a day when there isn’t a whole lot of wind. Why? Because if dirt or bits of trees or whatever are blowing around and landing on your paint job, you’re going to have a bad time. Seriously, it’s kind of surprising how even a relatively small imperfection in your paint can draw your attention later when you’re trying to scry and basically ruin the whole effect.
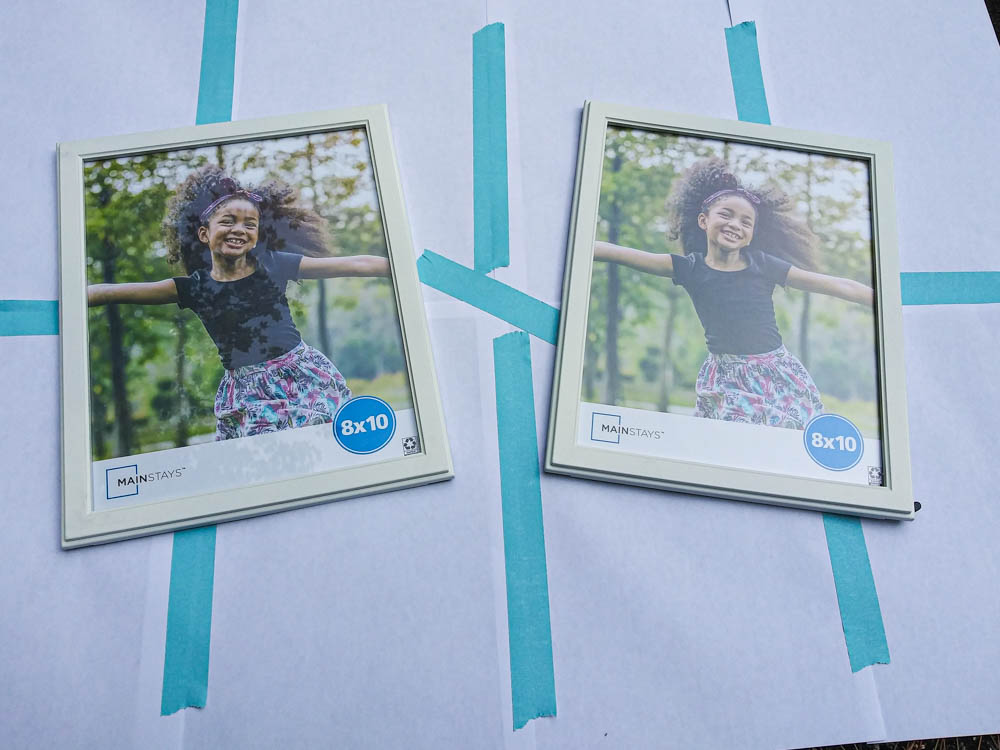
With that out of the way, and your location picked, lay down your newspaper so you don’t get paint where you don’t want it. We didn’t have any newspaper handy, but we did have some cheap printer paper and some masking tape. I taped a few sheets together and used that for the “drop cloth.”
Now…let’s talk about picture frames.
You really don’t need to go for anything fancy here. In fact, it’s best to have a plain and simple frame so it doesn’t distract you when you’re trying to scry. I bought the two frames you see above at the local Walmart for about three bucks each. They’re super cheap, so grab a couple of them just in case one of your black mirrors doesn’t turn out so hot.
I wrote and emphasized picture frames “with glass” in the list of ingredients above. Why? Because some picture frames have plastic instead of glass. Don’t use plastic. The paint’s going to look all weird, and over time the plastic might start to discolor or warp. Given the fact that frames with glass are so cheap, you really don’t need to be pinching your pennies here.
As for the size, an 8×10 frame is just about perfect for scrying. It’s large enough that you can see it pretty clearly when it’s sitting on a table, and not so big that your eye is searching all over the place. You could go for a round or oval frame instead of a rectangle (and some people say a circular frame is best), but rectangles are fine.
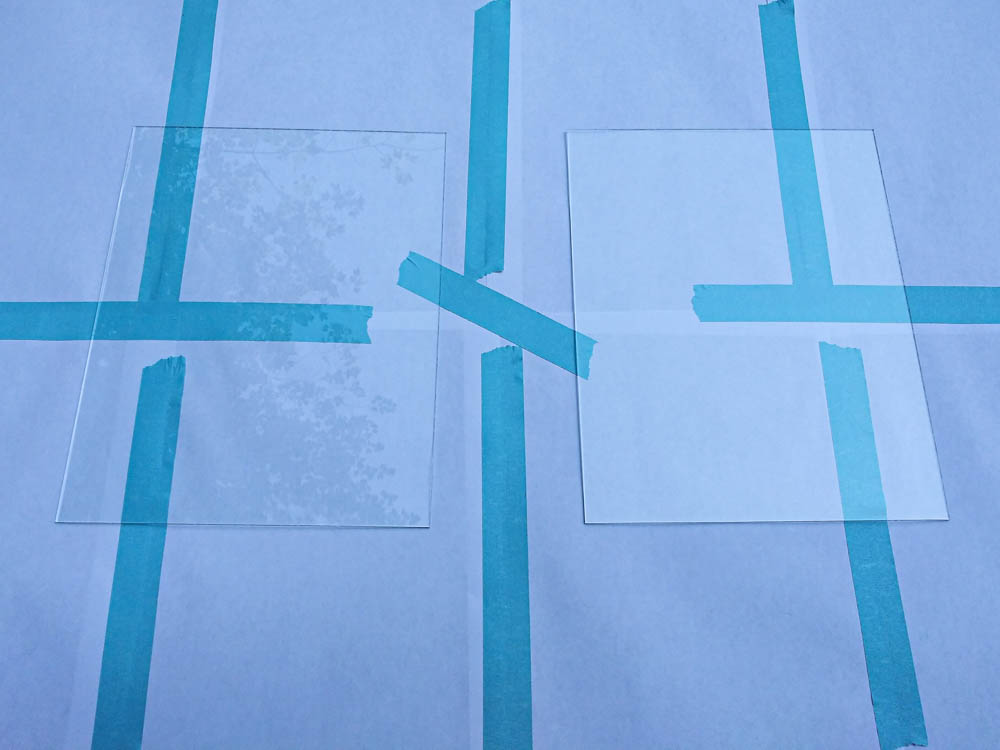
Take the glass out of the frames
First, you’re going to want to remove the glass from the picture frames and set the backing and frames themselves aside.
I probably don’t have to tell you this, but glass is fragile and it can cut you. I know, shocker. Just be careful. The edges and corners of the glass are likely to be wicked sharp.
Next, double-check that the glass is clean. Usually, the face of the glass that was inside the frame is going to be perfectly clean and ready to paint. If not, you’re going to want to wash the glass and dry it thoroughly with something that doesn’t leave any lint. Fun fact! Those automatic drip coffee filters? Those are usually lint free.
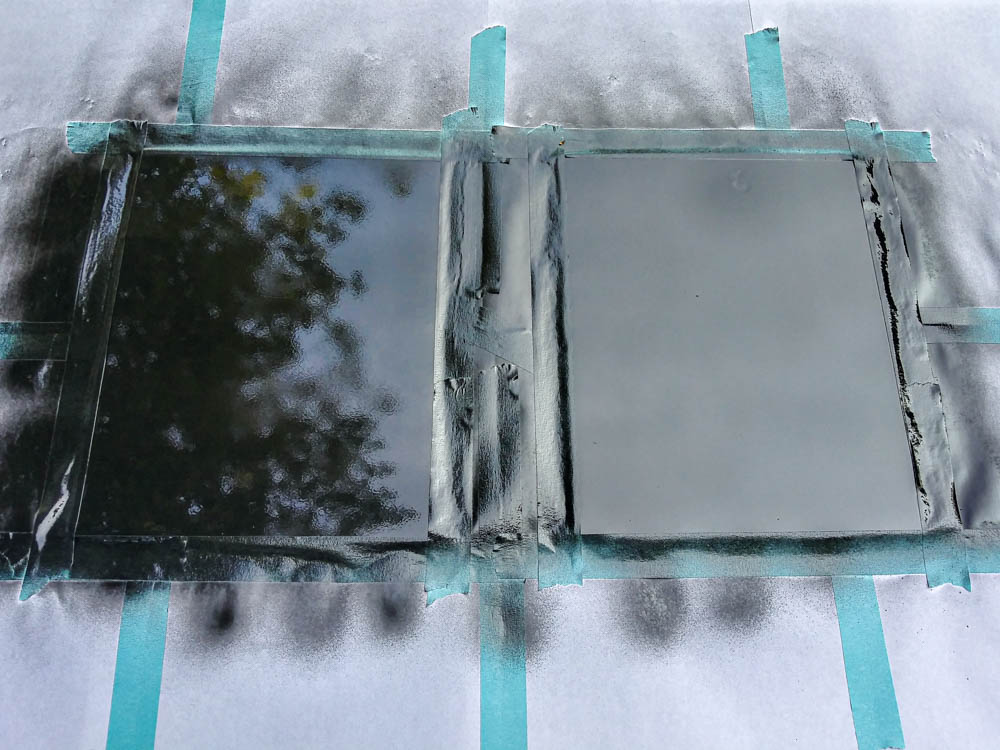
Once you know your glass is clean, lay it down and tape along the edge of the glass. The reason we’re doing this is to prevent the paint from spilling over the edge and wicking underneath to the other side.
Don’t skip this step.
You’re going to want to skip this step, but don’t. It’s not worth it. The paint will betray you. Just make sure that when you put the tape on the glass it only barely comes over the edge. You want to make sure that the glass you’re covering up is going to be hidden by the frame itself once it’s all assembled.
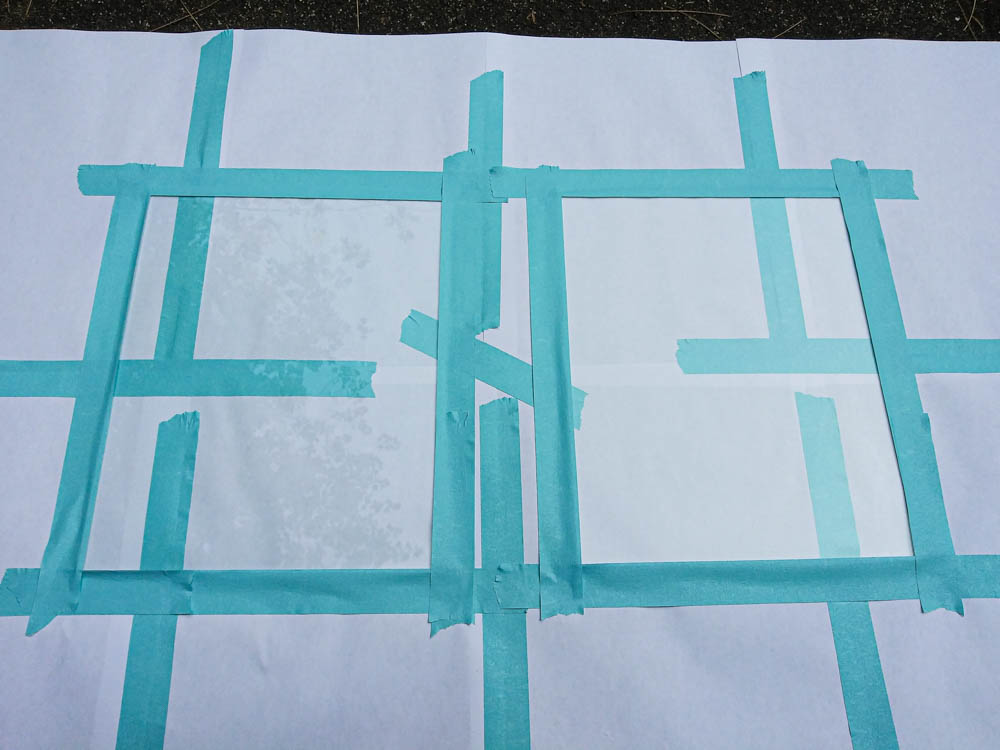
Can I just say again that you should absolutely, positively run tape along the edges of the glass? I know you don’t want to do it. The paint does not care and it will punish you for your hubris.
Let’s get spraying
Okay, the glass is out, you’re all taped up. What now? It’s time to grab your can of spray paint and shake the heck out of it.
And I mean really shake it. Like, a lot. If the paint has been sitting around for a while, you’ll want to shake it for about twice as long as you think is necessary, then shake it a little while longer.
The reason we’re being so aggressive with our shaking is because you don’t want any little lumps or clumps coming out of the can. As with errant dust and tree bits, any little blob of paint on the glass is going to create an imperfection that you will see when trying to use the black mirror. Just shake it like you mean it and you’ll avoid problems later on.
All shook? Good. Now apply the paint to the glass according to the directions on the can. Usually this means holding the can about a foot away from the glass, and keeping the can moving. You want to get a decently-even coat on the glass, but don’t worry if it’s not too thick. It’s better to put on several relatively thin coats than to try to apply only one or two thick ones.
Once you have a coat of paint on the glass, wait until the paint is just dry to the touch. Usually, you only have to wait about twenty or thirty minutes between coats, but the exact amount of time should be on the can. For the mirrors you’re seeing in this post, I applied three coats of paint, with thirty minutes of drying time between coats.
Go for at least two coats. More than three is probably overkill, unless you’re putting the paint on super thin.
After the last coat, let it dry until you can safely handle it without messing up the paint. With most of the spray paints I’ve used, it takes between one and three hours for the paint to be dry enough for our purposes.
Remove the tape
Now comes the fun part. And by “fun,” I mean potentially really annoying. You want to carefully remove the masking tape from the glass. Why “carefully,” you ask? Because paint can rip. When you’re pulling the tape off, it’s possible that a large chunk of paint is going to come along with it when you didn’t want it to.
Ask me how I know?
Just try to go slow, and pull the tape toward the side, away from the glass. Do that, and you should be fine. If not, well, I did say you should probably buy a couple of picture frames in case something went wrong.
Put it all together
Once the glass has been freed from the tape, put the glass back in the frame. You want the un-painted side facing out. You want the side with the paint facing the backing. This will ensure that the black mirror is nice and glossy, with that reflective shine we want. Put the backing on and you’re golden.

Now you have your very own black mirror. Or two of them, if you took my advice and were lucky.
Why not give one to a friend and tell them about this site?
Anyway, now that you have a black mirror, how do you use it?
A beginner’s guide to black mirror scrying
Using a black mirror for scrying can be incredibly simple or incredibly complicated. Today, we’re going to take the simple route.
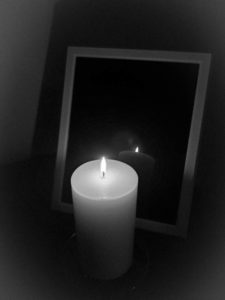
You’ll need a white, unscented candle–a votive candle or even a tealight will work just fine. You’ll also need a quiet room, a comfortable chair to sit in, and a table upon which you can put the candle and mirror. You want to place the candle on the table and put the mirror in front of it, so the mirror will be “back lit” by the candle’s flame.
You might also want to pick up some palo santo or some other incense known for “cleansing” or “quieting” a space, if you’re into that sort of thing.
Dim or turn off the lights in the room. You want very low light for this. You might find it easier to do this at night, but that’s not necessary if you have good window shades.
Close your eyes for a moment, take a few relaxing breaths, then open your eyes and light the candle while saying: “Let me see wonders.” If this phrase doesn’t do it for you, use whatever words feel right to “open the space.”
Sit in the chair, close your eyes eyes again, take a few more relaxing breaths, then open your eyes and gaze into the mirror’s surface.
Have you ever tried to look out a window at night when there were lights on in the room? You see your reflection, right? That’s what’s going to happen here. Don’t worry about it. What you want to do is try to look past your reflection and out into the darkness, just like you would if you were trying to look out that window.
At first, you might not see anything. After a few minutes, though…who knows?
If you’ve never tried scrying before, give yourself a good fifteen minutes for this first session. A typical scrying session can last as little as ten minutes, or as long as an hour.
Once you’re done, stand up, and say: “Thank you for showing me wonders. I bid you farewell. Let there be peace between us.” Again, you can use whatever words you think are appropriate. The key bits are expressing gratitude, and sending away whatever might have come around to say hello.
Blow out the candle and put the black mirror away somewhere safe. If you feel so inclined, burn some of that “cleansing” incense to clear the space.
Wrapping up
Some people report seeing a lot of interesting things when they scry. Other people report seeing only vague shapes or “shadows” in the mirror.
Why not give it a shot?
You might be surprised by what you see.
With the asking for wonders and thanking at the end, this sounds like you’re less working on your own and more asking someone else to share with you. Who are you asking? Do you get the same entity each time? Can you control it?
I think the best answer I can give is…it depends!
When we did our survey of different methods of black mirror scrying, we saw that people *tend* to perform it according to one of two “models,” for lack of a better word: a “spirit” model; and a “higher-self”/”unconscious” model.
In a spirit model, the contents of the mirror are shown to the observer by other entities or persons. Some people who operate according to this model spend a lot of time (even their entire lives) cultivating relationships with specific spirits who help them with this or other things. In the interests of full disclosure, I’m personally very “spirit-focused” in my practice, so this is the way I’ve approached black mirrors.
In a higher-self/unconscious model, however, the mirror acts more like a screen onto which the observer “projects” the contents from that part of themselves. Some of these people do still maintain some kind of self/other language like what we have above, though, seeing it as an aid to “getting into the zone.”
The procedure we gave above was designed to be accommodating and respectful of both of these models while still being relatively simple. There’s a lot more to be said about black mirrors, though. So much so that they may even be the subject of next week’s podcast episode!